Hello hello!
Grace here. Happy Sunday! I hope this finds you well…
Since so many of you have recently invested in the various Starter Kits that we sell, the lovely Hazel Edwards is going to share with us another of her brilliant starter kit tutorials! You can find her other fab tutorial from a few weeks back here.
How lucky are we? Hazel is back in the (virtual) building!

I’ll hand you back to the lovely lady herself!
Here is a step by step tutorial that focuses on the basics of colouring, blending and sentiment positioning techniques. We’ll be using the Deluxe Groovi Starter Kit again, which is brilliant for beginners and the rest!
Sidenote, the Pergaliner ‘B’ pencils are perfect for starting out, as are the Faber Castell Polychromos, dependant upon your budget. I use both and interchange them quite happily.
This design is simple in construction and is perfect for both male and female cards.
So let’s get started.

Ingredients
Groovi Deluxe Starter Kit (GRO-SK-41709-XX)
Shenandoah Designer Paper – 14.4cm x 14.4cm and 12.5cm x 12.5cm (ACC-CA-30541-88)
Mirri Card – 13.2cm x 13.2cm
Parchment – 12.5cm x 12.5cm & the offcut left from the A5 sheet (GRO-AC-40020-XX)
6” x 6” Card Blank (ACC-CA-30618-66)
Pergaliners (B pencils) (PER-CO-70063-XX)
Dorso Oil (PER-CO-70066-XX)
Silver Brads (PER-AC-70275-XX)
Double-Sided Tape / Tape Runner
Pokey Tool (to pierce card for brads)
Step 1.
Take your clear parchment and rub the tumble dryer sheet over it.
Step 2.
Place the Mountains & Hills into the Plate Mate.
Step 3.
Position the parchment so the first circle is embossed in the left-hand corner (this is the back of the parchment)


Step 4.
Moving the parchment as you go (you don’t need to secure with Groovi Tabs unless you want to), emboss the large and small circles leaving an open area in the bottom left for the sentiment.

Step 5.
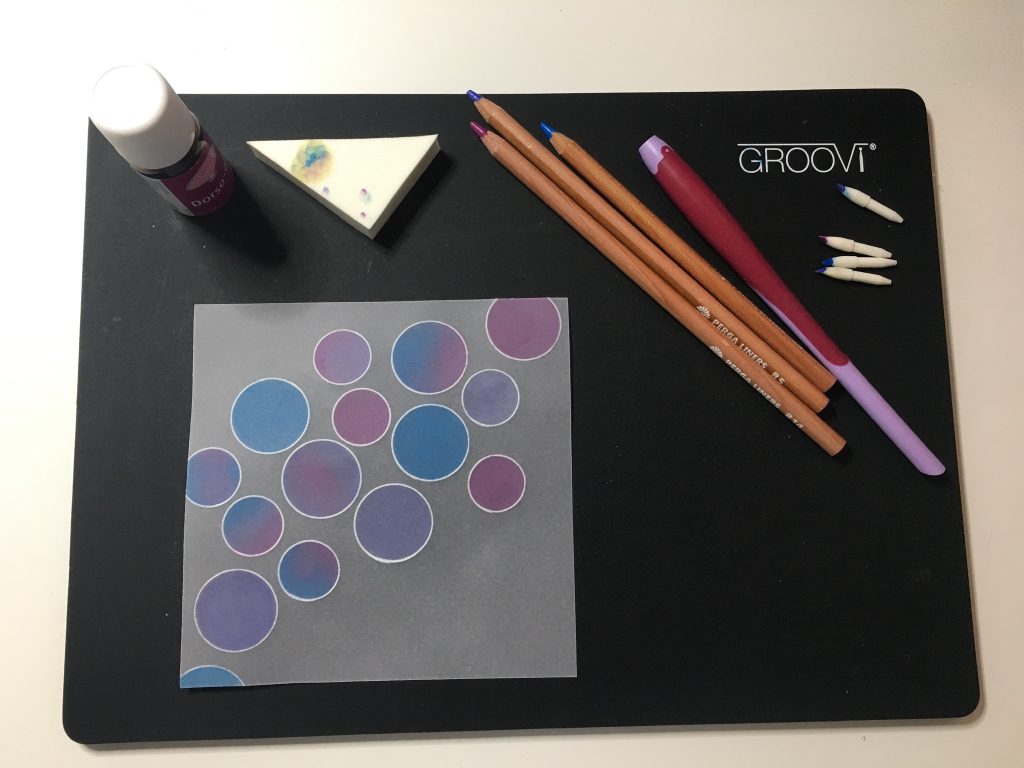
Working on the back of the parchment, colour in each circle, with variations of a single colour, two or three colours.

Step 6.
Blend using dorso oil, blending nibs (one for each colour) and a sponge taking care to not use too much oil.


Step 7.
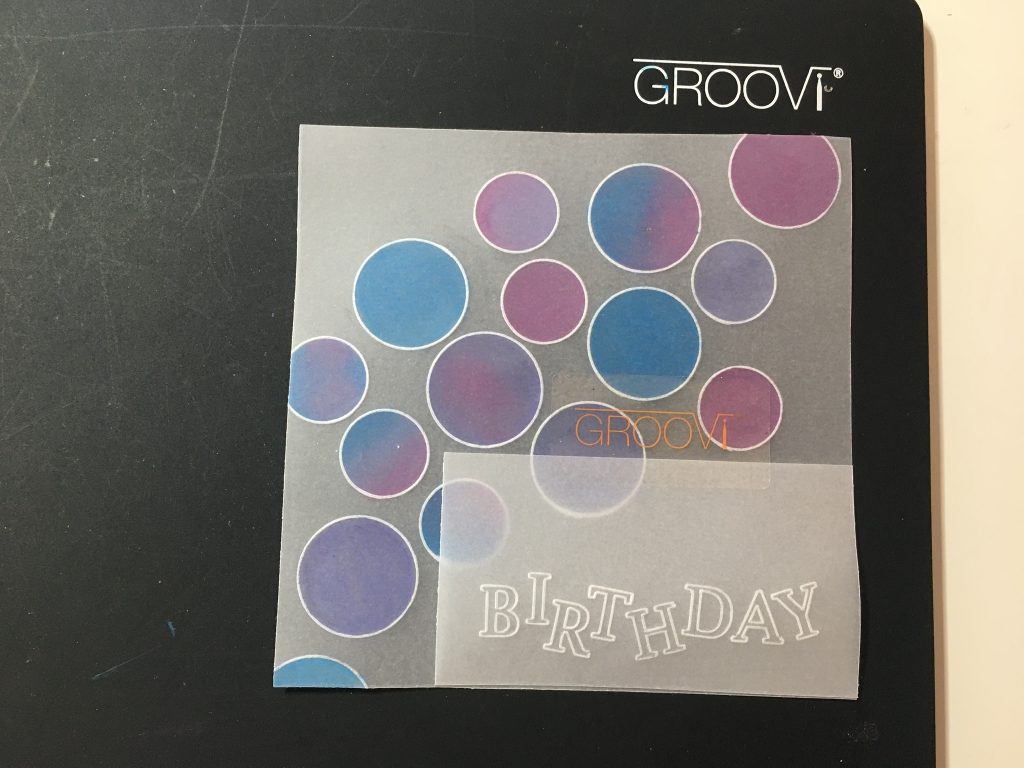
On the offcut parchment, emboss a sentiment of your choice at an angle (use this to check it fits your work first!). This is your template.


Step 8.
Trim the bottom off this piece.

Step 9.
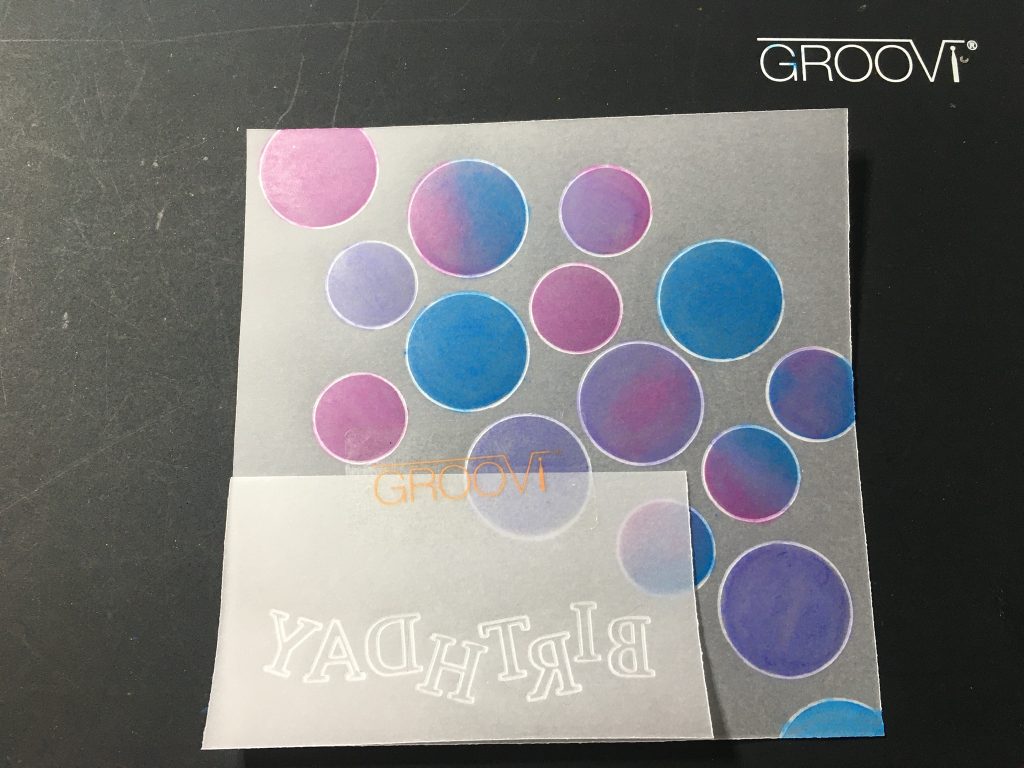
Place this on the back of your work and secure the top with a Groovi Tab.

Step 10.
Using the alphabet on the Plate Mate, line up each letter, lift up the template and emboss.


Step 11.
Repeat for each letter until your sentiment is completed.

Step 12.
Add random circles and dots from the Plate Mate for a bit of added interest!

Step 13.
Carefully colour each letter of the sentiment using a well sharpened pencil.

Step 14.
Place the parchment on top of the designer paper and pierce through both layers in each corner.
Step 15.
Using brads, secure the parchment to the designer paper.

Step 16.
Using double-sided tape or a tape runner, fix your work to the mirri card and the designer paper.
Step 17.
Finally, attach this to the card blank. And you’re all set!

Wow! That is wonderful! Thank you, Hazel. I might have to have a go at this one myself. Anyone else? I love the colours!
If you are looking for everything that Hazel has used – click HERE
Don’t forget, our half price members sale finishes at midnight (UK time) on Monday! The starter kits (along with many other items mentioned in this tutorial) are included in that sale! Happy days 
I’ll be on the website chat system Monday from 1pm – midnight (UK time) if you need any help at all.
For now though, I’m off to enjoy the last bits of the weekend. Travel gently…
Lotsa love, Grace xo
Clarity – The Home of Art, Craft and Well-being.